Objective:
In the previous article Oracle Data Integrator Introduction, we learned about the Architecture and components of ODI. In this article, we will learn about the Installation steps of ODI 11g.
Before Installing ODI 11g, We have to first install Database and Java Development Kit / JRockit Family:
Prerequisites:
Install Database:
For Database Installation stepsclick here
Install Java Development kit (JDK) / JRockit Family :
Prior to the installation of ODI, It is necessary to Install Java JDK1.6 or above.
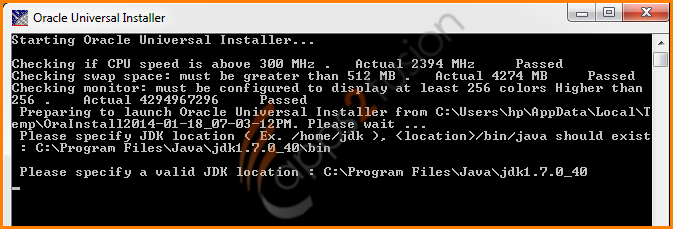
Unzip the downloaded software and double click on setup.exe.
In Universal Installer screen, It may prompted for Java location to continue the installation.
So copy Java path and right click on this window bar -> mark ->paste to paste the path.
Install Repository Creation Utility(RCU):
For RCU installation steps, click here
Install Weblogic server:
For Weblogic server Installation steps, click here
Download the ODI software from the oracle software:ODI Download Oracle Page
Step1:
Just click 'Next' for the welcome page
Step2:
If you have valid oracle support id then select second option with this step and enter the details so that the latest updates would be updated automatically. otherwise select 'Skip Software Updates' and click 'Next'
Step3:
If you have installed 'OBIEE 11g' in the machine then select all the components with this step so one of step you will be prompted to select middleware home. but here I have just installed ODI without Middleware path.
Step4:
Once the prerequisites passed with this step click 'Next'
Step5:
In the next step, we will see the default path where ODI will be installed. If we want to change, we could do where we could install ODI.
Step6:
We have already created Repository using OBIEE 11g RCU. so select 'Skip Repository Configuration' and then click 'Next'
Step7:
In this step select database type, connection string, db user name and password and then click 'Next
Step8:
In this step enter SUPERVISOR password 'Admin123' and then click 'Next'
Step9:
In this step, work repository which we have created using RCU would be selected. If not select in this step and click 'Next'
Step10:
Give the Agent Name that you want to create with this installation and then click 'Next'
Agent Name: ODIAgent
Agent Port: 20910
Step11:
In this step uncheck I wish to receive security updates via my oracle support and click 'Next'
Just click 'Yes' for the popup window
Step12:
In the next step save the ODI path details if you want or just click Install
Installation Progress
After configuration progress reaches 100% click 'Next'
Just click 'Finish' to complete the ODI Installation
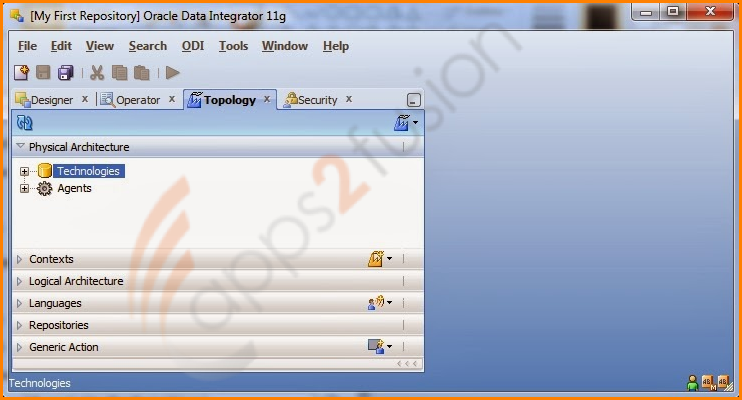
Now go to All Programs -> Oracle -> Oracle Data Integrator -> ODI Studio and click 'Connect Respository' and enter details like below screen
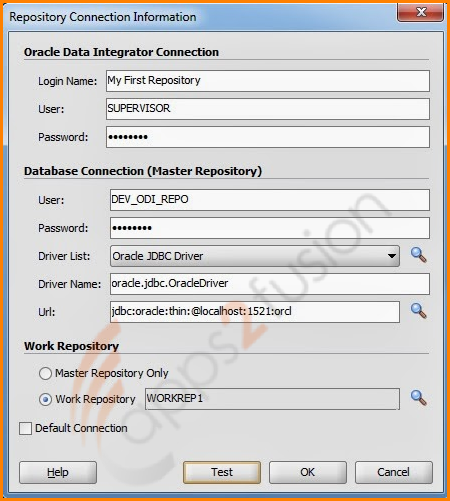
We have connected with ODI Repository in ODI Studio