
Objective:This article provides detailed OIM installation steps on Linux .
Steps to install OIM.
You need to download all the binaries / installables for weblogic, IAM, database , and Java required for OIM installation . You can download the OIM installables from below link:
http://www.oracle.com/technetwork/middleware/downloads/oid-11g-161194.html
1)Once you download first thing is Repository Creation Utility (RCU). RCU creates all the required schemas for OIM .
2) Install weblogic server
3) Install IAM
4) Configure Weblogic ( to create a domain )
5) Starting Weblogic
You need to install database first. You can follow the instructions in this article to install the database .
After the database is installed we will start with our first step i.e. RCU.
1)Creating Database Schema Using the Oracle Fusion Middleware Repository Creation Utility (RCU) :
RCU is available only on Linux and Windows platforms. Use the Linux RCU to create schemas on supported UNIX databases. Use the Windows RCU to create schemas on supported Windows databases. After you extract the contents of the rcuHome.zip file to a directory, you can see the executable file rcu in the BIN directory.
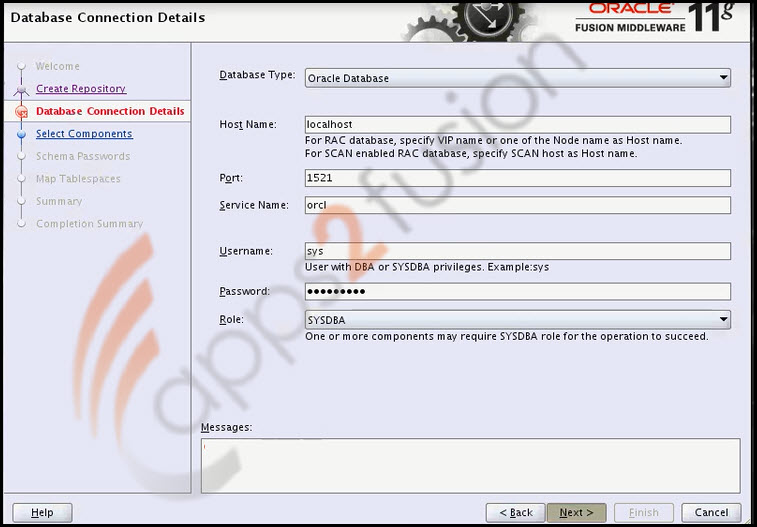
Before running RCU, ensure that you have the database connection string, port, administrator credentials, and service name ready.
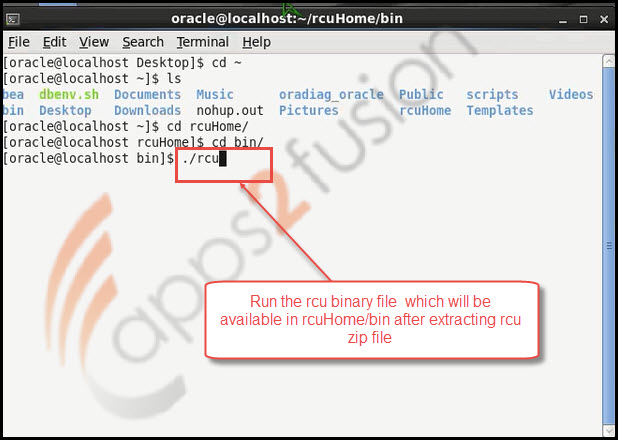
1.1) After you execute the rcu binary file (./rcu) Repository Creation Utility Welcome screen will appear you just need to click on Next .
1.2) Select the option Create and click on Next
1.3) You need to provide the Database Connection Details in order to connect to the database .After entering valid details click on Next
Once all the entries are correct and you click on Next Prerequisites will be checked
Once that is successful click on OK and then on Next
1.4) For Oracle Identity Manager, select the Identity Management - Oracle Identity Manager schema. When you select the Identity Management - Oracle Identity Manager schema, the following schemas are also selected, by default:
SOA Infrastructure
User Messaging Service
AS Common Schemas - Oracle Platform Security Services
AS Common Schemas - Metadata Services
After selecting Oracle Identity Manager click on Next ,
Once you click on Next it will check the prerequisites before going ahead . Click on OK once prerequisite check is successful.
1.5) Select the option Use same passwords for all schemas and give the password for the schema.
1.6) Click on Next to create the required schemas.
It will ask for confirmation click on OK to create the tablespaces
First it will check the tablespace requirements for selected components and if it succeeds it will start creating the table space.
1.7) Click on Create all the required repositories will be created
2) Installing Weblogic Server :
To install weblogic you need to download the weblogic installable . You can download the weblogic from below link:
http://www.oracle.com/technetwork/middleware/ias/downloads/wls-main-097127.html
Once downloaded we can start the installation :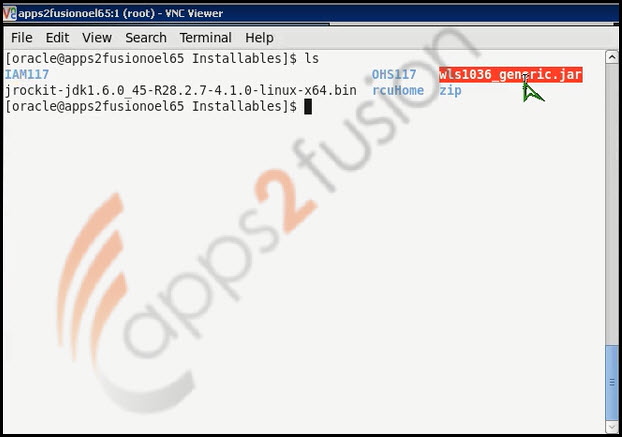
2.1) Before starting the Weblogic installation you should make sure that Java is already installed . To start installation we need to enter the command java -jar wls1036_generic.jar. As soon as you enter the command extraction will start and GUI will appear for installation .
2.1) Welcome screen will appear just click on Next
2.2) Choose the Middleware Home Directory .You can keep the default path for middleware or change as per your wish and click on Next
2.3) It will ask whether you want to register for security updates . Uncheck I wish to receive security updates and click on Next
Click on Yes when it asks Do you wish to bypass the initiation of configuration manager and remain uninformed of critical security issues in your configuration .
2.4) Check on I wish to remain uninformed and click on Continue button
3) Select Custom option and click on Next
We don’t want Evaluation database and Coherence so we will uncheck both the options and click on Next
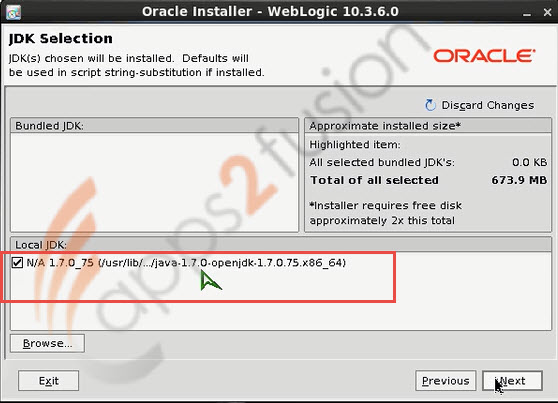
2.5) Select the appropriate JDK and click on Next
2.6) Keep the default path for Weblogic home that appears and click on Next
All the utilities and commands required for Administration of weblogic will be available in middleware home and weblogic home
2.7) Installation Summary will be displayed summarizing what all products will be installed so just click on Next
Once you click on Next , installation for weblogic will start which will take around 5 minutes .
Once installation is completed uncheck Run Quickstart option since we do not want to configure weblogic now and click on Done button
Our second step is done . Now we will start with the this step wherein we have to install IAM
3) Installing Identity Access Manager
Identity and access management (IAM) is the security and business discipline that "enables the right individuals to access the right resources at the right times and for the right reasons." It addresses the need to ensure appropriate access to resources across increasingly heterogeneous technology environments and to meet increasingly rigorous compliance requirements
--> To start with IAM installation we will first move to the folder where we have downloaded its installable and unzipped them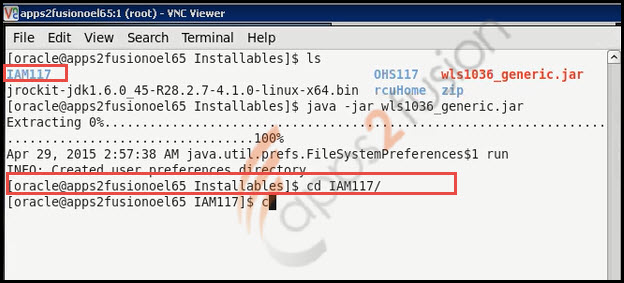
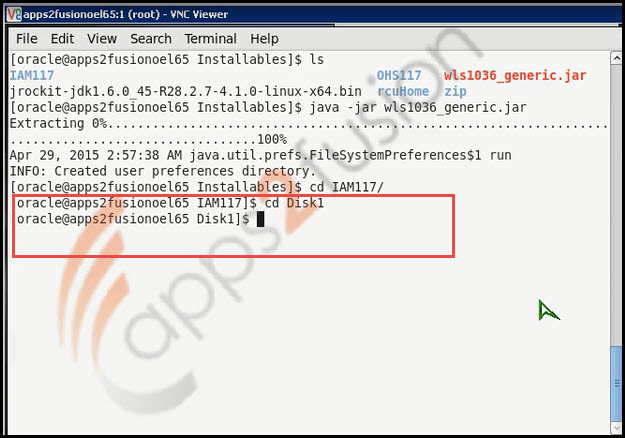
--> Then we will move to Disk1 folder with the help of cd Disk1 command
When you list contents of Disk1 folder with the help of ls command you will see runInstaller command . We will be running runInstaller command to start our IAM installation . 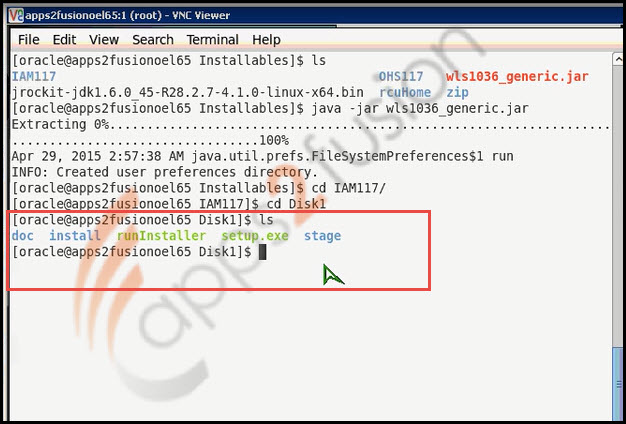
--> To execute the runInstaller use the command ./ . Also it will require jdk location as shown in below screenshot. So the complete command will be ./runInstaller -jreLoc “path of jdk”
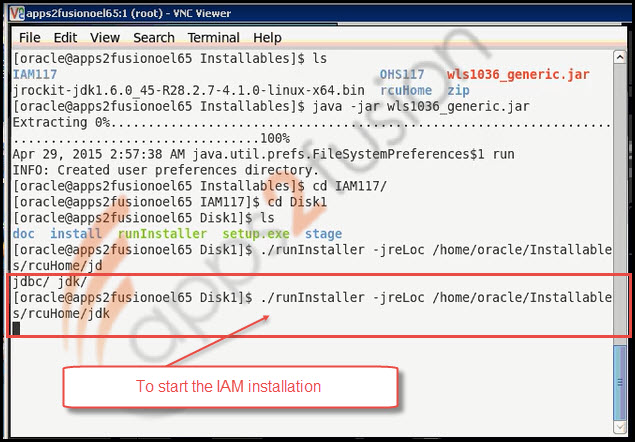
Once you execute runInstaller , it will check for swap space , temp space , and cpu speed if they are above 150 MB , 512 MB ,300Mhz respectively then only it will launch the Oracle Installer
3.1) Welcome screen will appearance installation starts just click on Next button .
3.2) Select Skip Software Updates option and click on Next
3.3) In 3rd step prerequisite check will be performed
Once all the prerequisite checks are successful click on Next .
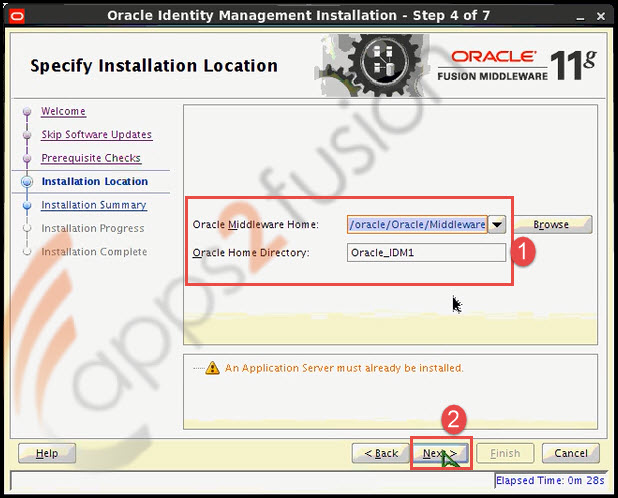
3.4) In 4th step you need to specify Home Directory for IDM and Middleware home location . Keep the default one appearing and click on Next .
3.5) In 5th step Installation Summary will be displayed listing Location , Available Space and the Applications that will be installed . Just click on Install to start with the installation
3.6) Once click on Install, Installation progress will be displayed , you need to wait till its done 100%.
Once the installation is successful we need to configure weblogic which will be our next step
4) Configuring Weblogic Domain
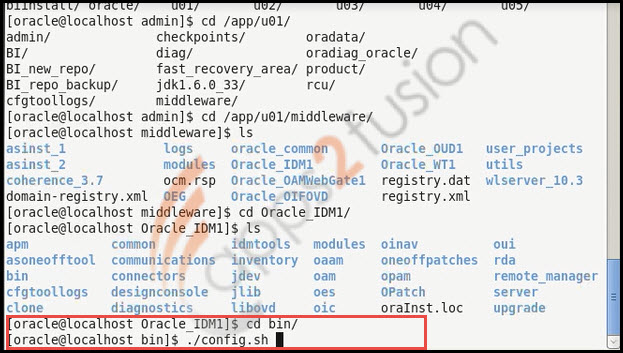
-->To configure weblogic domain first we will go to Middleware home by using command cd /app/u01/middleware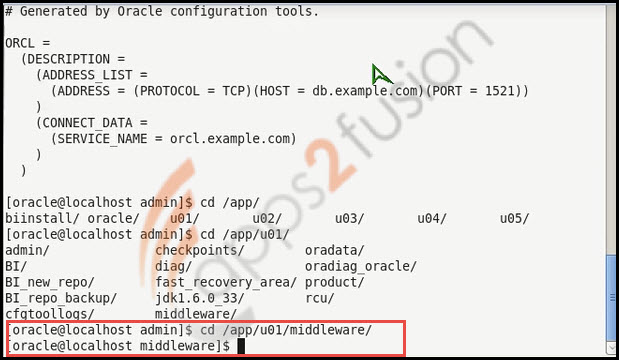
Next when list the contents of middleware folder you will find IDM Home i.e. Oracle_IDM1 as shown in below screenshot . 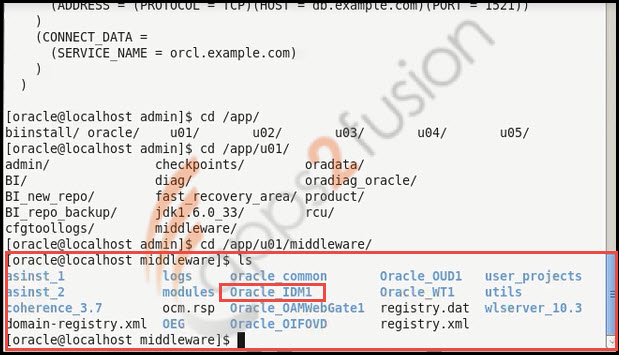
So we will move to the Oracle_IDM1 folder by using cd command .
Now we want to move to bin folder so first we list the contents of Oracle_IDM1 folder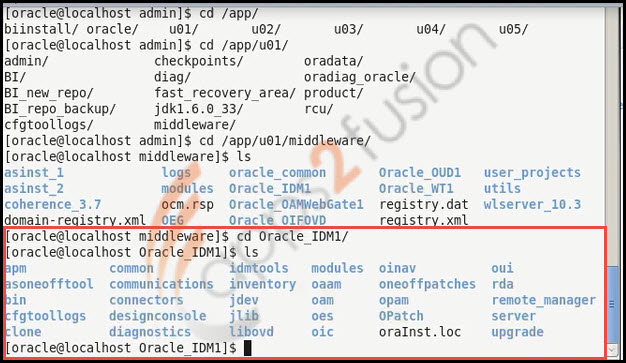
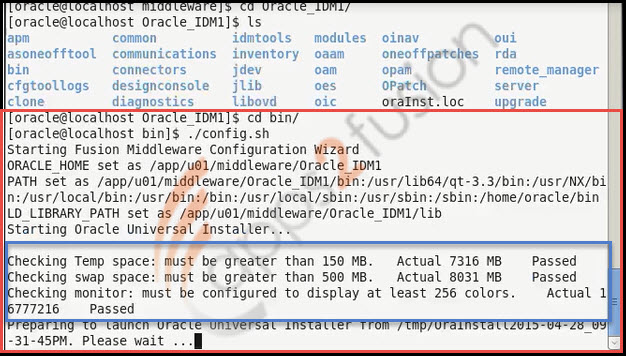
-->After moving to bin folder run the config.sh file to configure the Weblogic
Once you run config.sh It will start the installer and will check whether temp space , swap space are greater than 150 Mb and 500 MB respectively , and also will check whether Monitor is configured to display at least 256 colors . If all these three checks are passed the only configuration wizard for OIM will start and GUI will appear .
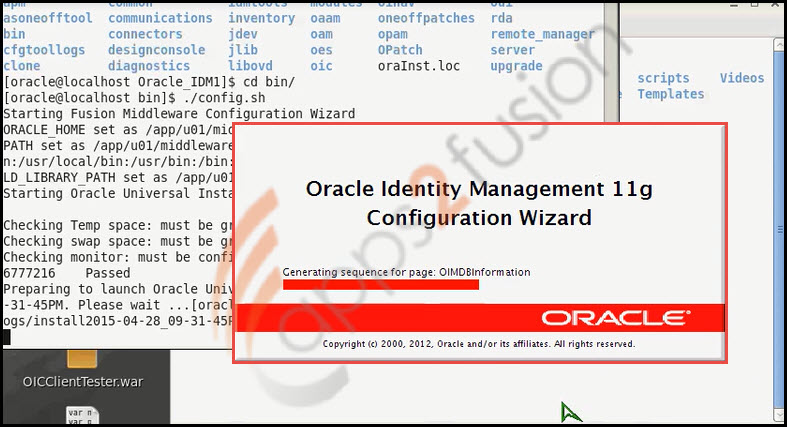
4.1) Welcome screen will be seen in the first step , so just select Create New Weblogic Domain and click on Next to move forward to step 2 .
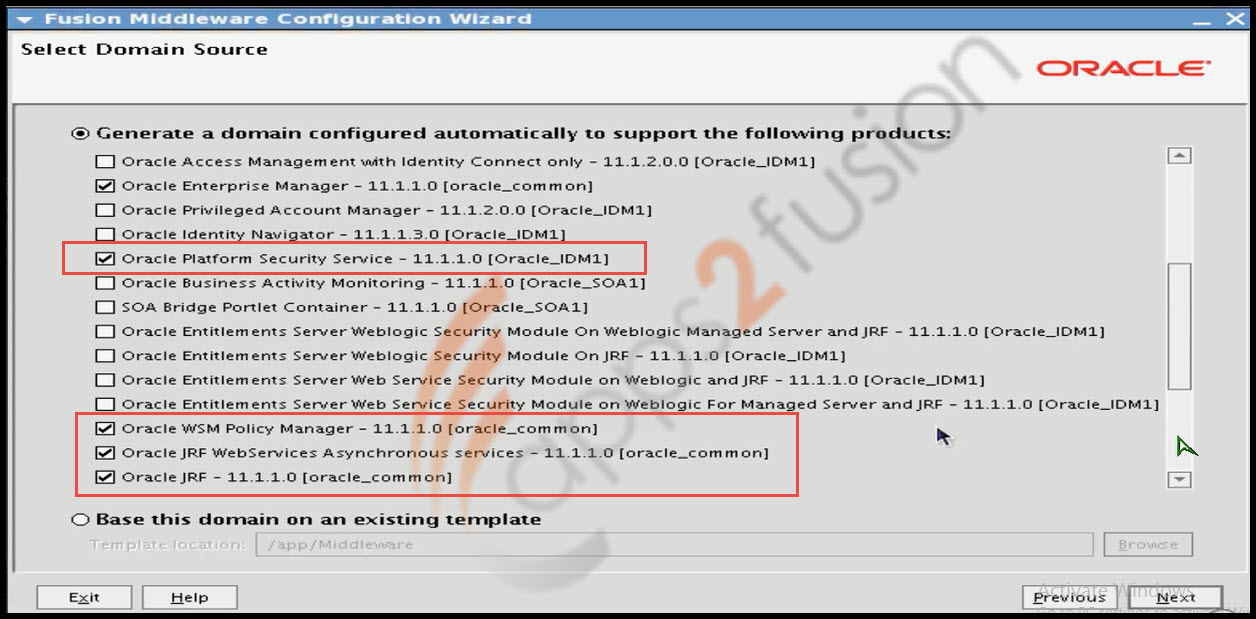
4.2) In second step it will ask you what are the components you want to configure . Select Oracle Identity Manager all the dependencies will be automatically selected and then click on Next (Oracle SOA Suite and Oracle Enterprise Manager ,Oracle Platform Security Service , Oracle WSM Policy Manager , Oracle JRF WebServices Asynchronous services , Oracle JRF will be automatically selected )
4.3) In this step it will to enter the name and location for the domain and its applications.
Change the Domain name from base_domain to security_domain or as per your naming conventions.Keep the default value appearing for Domain location and Application location and click on Next 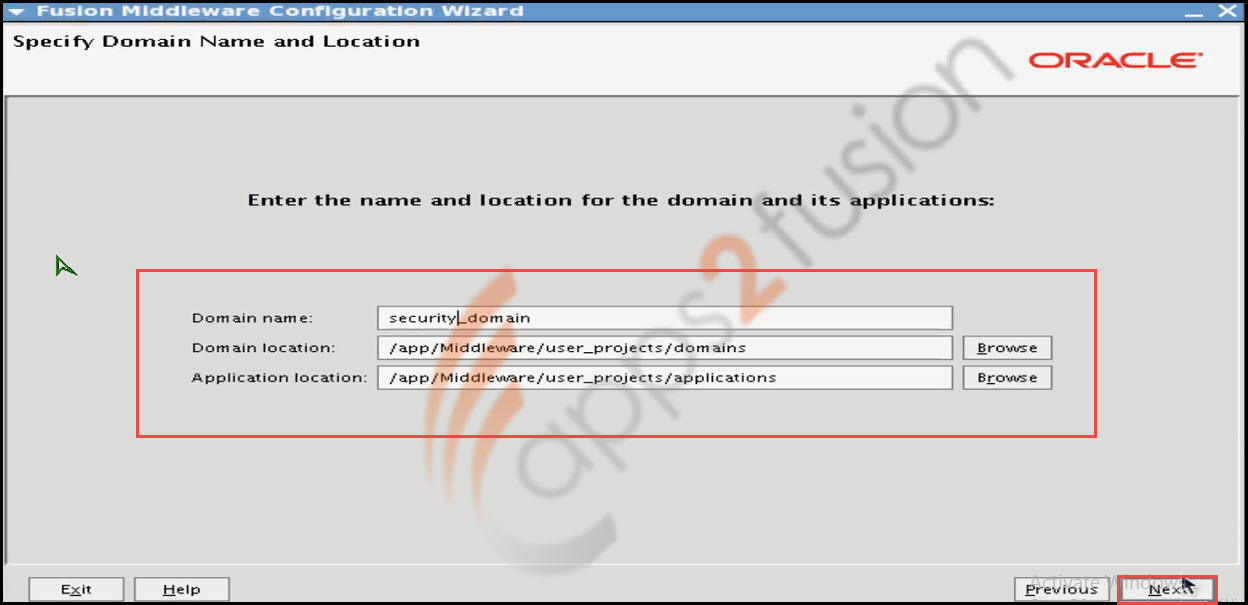
4.4) In 4th Step you need to set the password for weblogic administrator. Enter the passwords you wish and click on Next .
4.5) In 5th step you need to configure Server Start Mode and JDK . There will be two modes for server startup one is Production mode and Development mode . The difference between these two modes is that in Production mode there will be 14 workers threads that run whereas in Development mode there will be 4 Worker thread . Also in Development mode resource consumption will be less as compared to Production mode. We will select Development mode and JDK that is already installed and click on Next .
4.6) In this step you need to configure JDBC Component Schema . To configure first select all the listed Component Schema
Then enter the common password for all the schemas , change the host if it’s not correct or simply enter localhost if the database is running on the same local machine and click on Next . Also make sure SID and other database details are correct before clicking on Next.
4.7) Now it will test the database connectivity .
Once all the Schema connection is successful click on Next .
4.8) It will ask for any optional configuration you want . If yes select the appropriate one and click Next . In our case we will not select on option and directly click on Next . Once domain is created we will go back and configure it.
4.9) At last it will give the Configuration Summary . Just click on Create button to start with the domain creation .
Click on Done once completed.
We have created the domain now we will configure it . There is one python script named as configureSecurtyStore.py that is to be executed which also requires the domain name. (For security store you need to specify domain name ). Once you create the security store you will be able to run the managed server , admin server , oim server etc.
Lets us create one security store .
-> First we will move to bin folder under Oracle_IDM1 .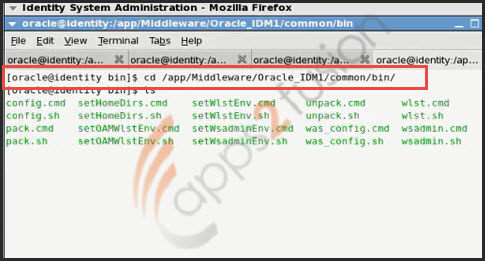
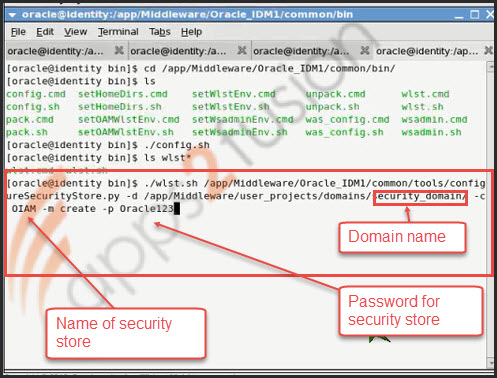
-> Now we will run the python script using wlst.sh file .
./wlst.sh /app/Middleware/Oracle_IDM1/common/tools/configureSecurityStore.py -d /app/Middleware/user_projects/domains/security_domain/ -c OIAM -m create -p Oracle123
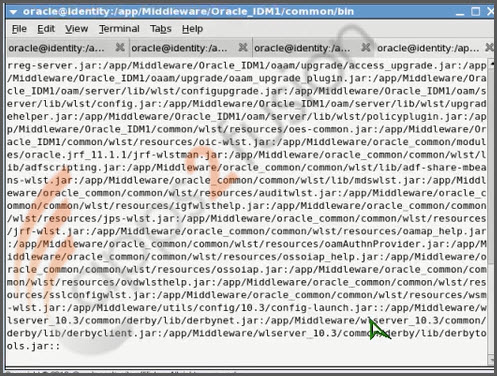
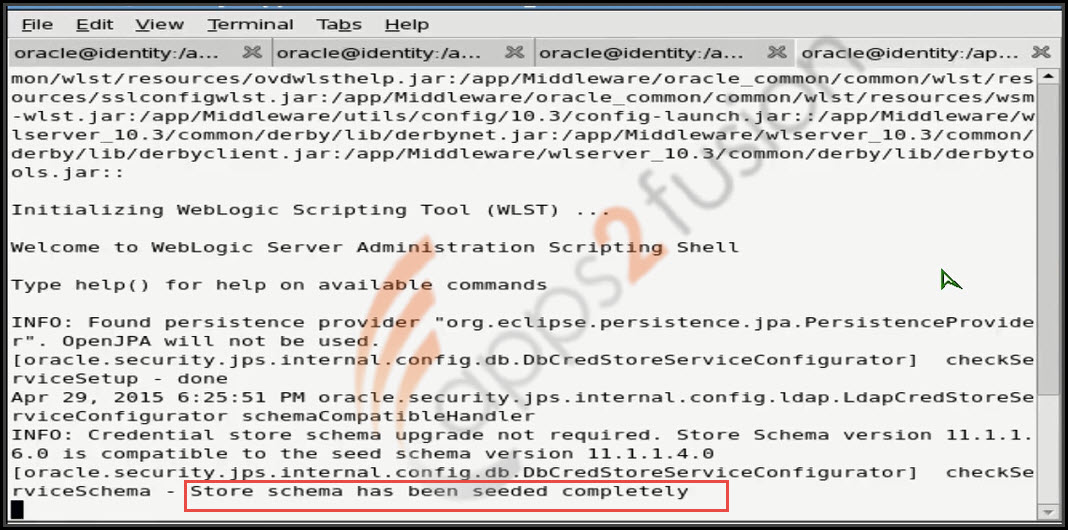
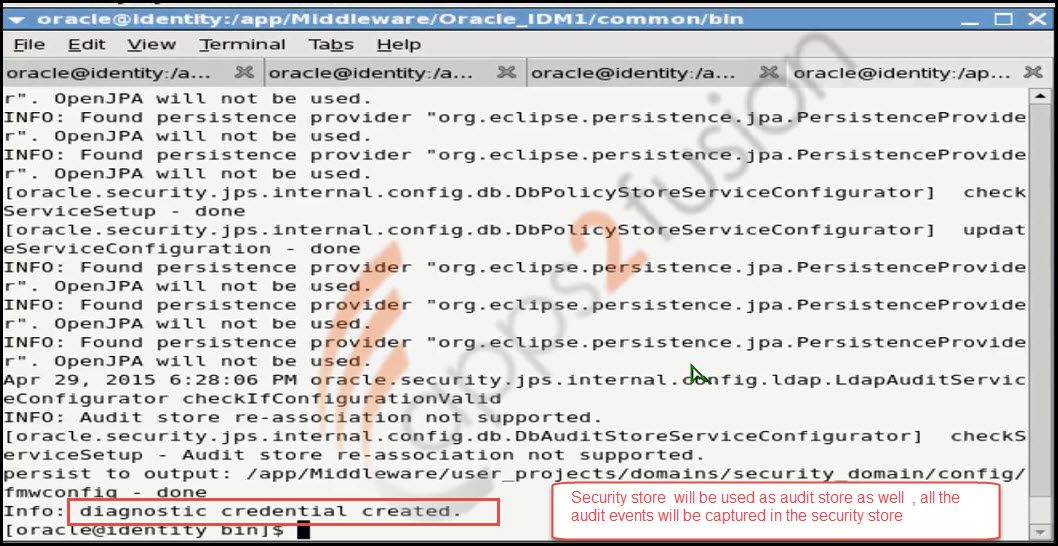
Security store is nothing but an encrypted table where OIM uses this table for saving all the audit data , audit policies you create . This was introduced from 11g r2 release onwards , it was not available in earlier release .
Once security store is created we can start weblogic .
5 ) Starting servers
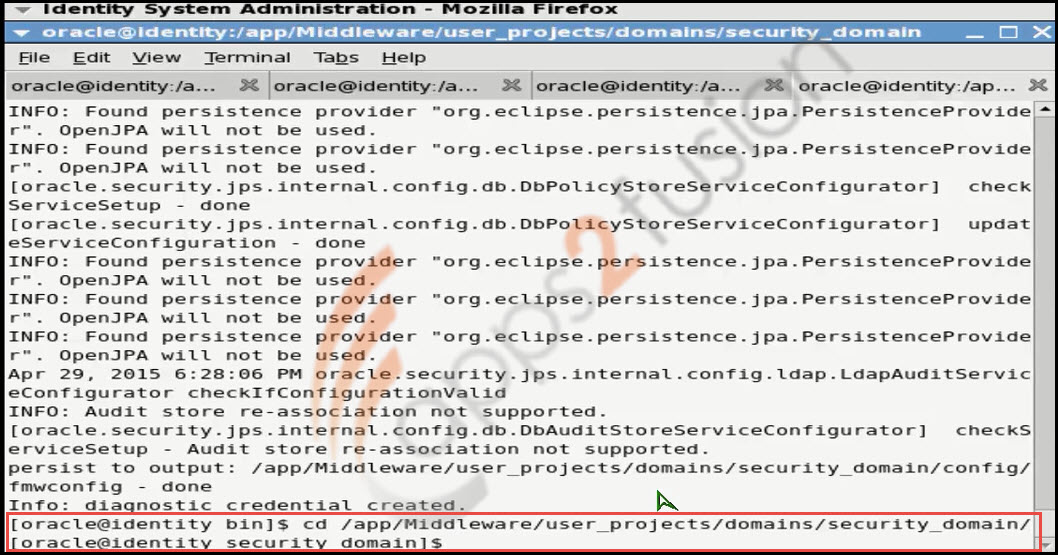
5.1 )To start the servers first we will move to weblogic domain we created .
5.2) We will start soa server by using command ./startManagedWebLogic.sh soa_server1

Wait until its shows the running status .
5.3) Start OIM server by using command ./startManagedWeblogic.sh oim_server1
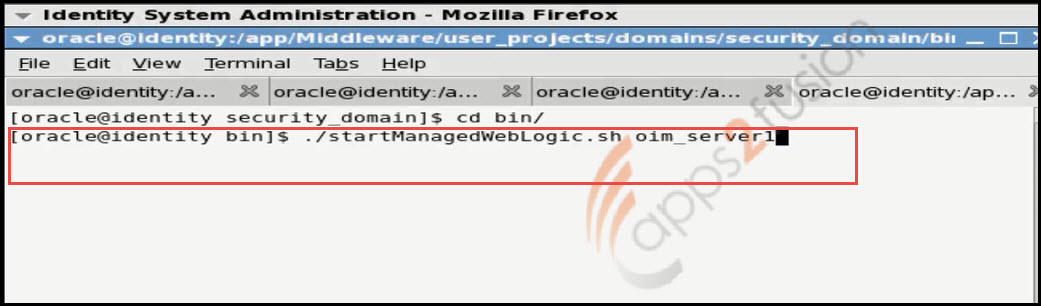
Once all the servers are in running mode our OIM installation and configuration completes .


